Leaf Notes – An Interactive Web Toy
— Try the experience in your browser at https://tendril.ca/
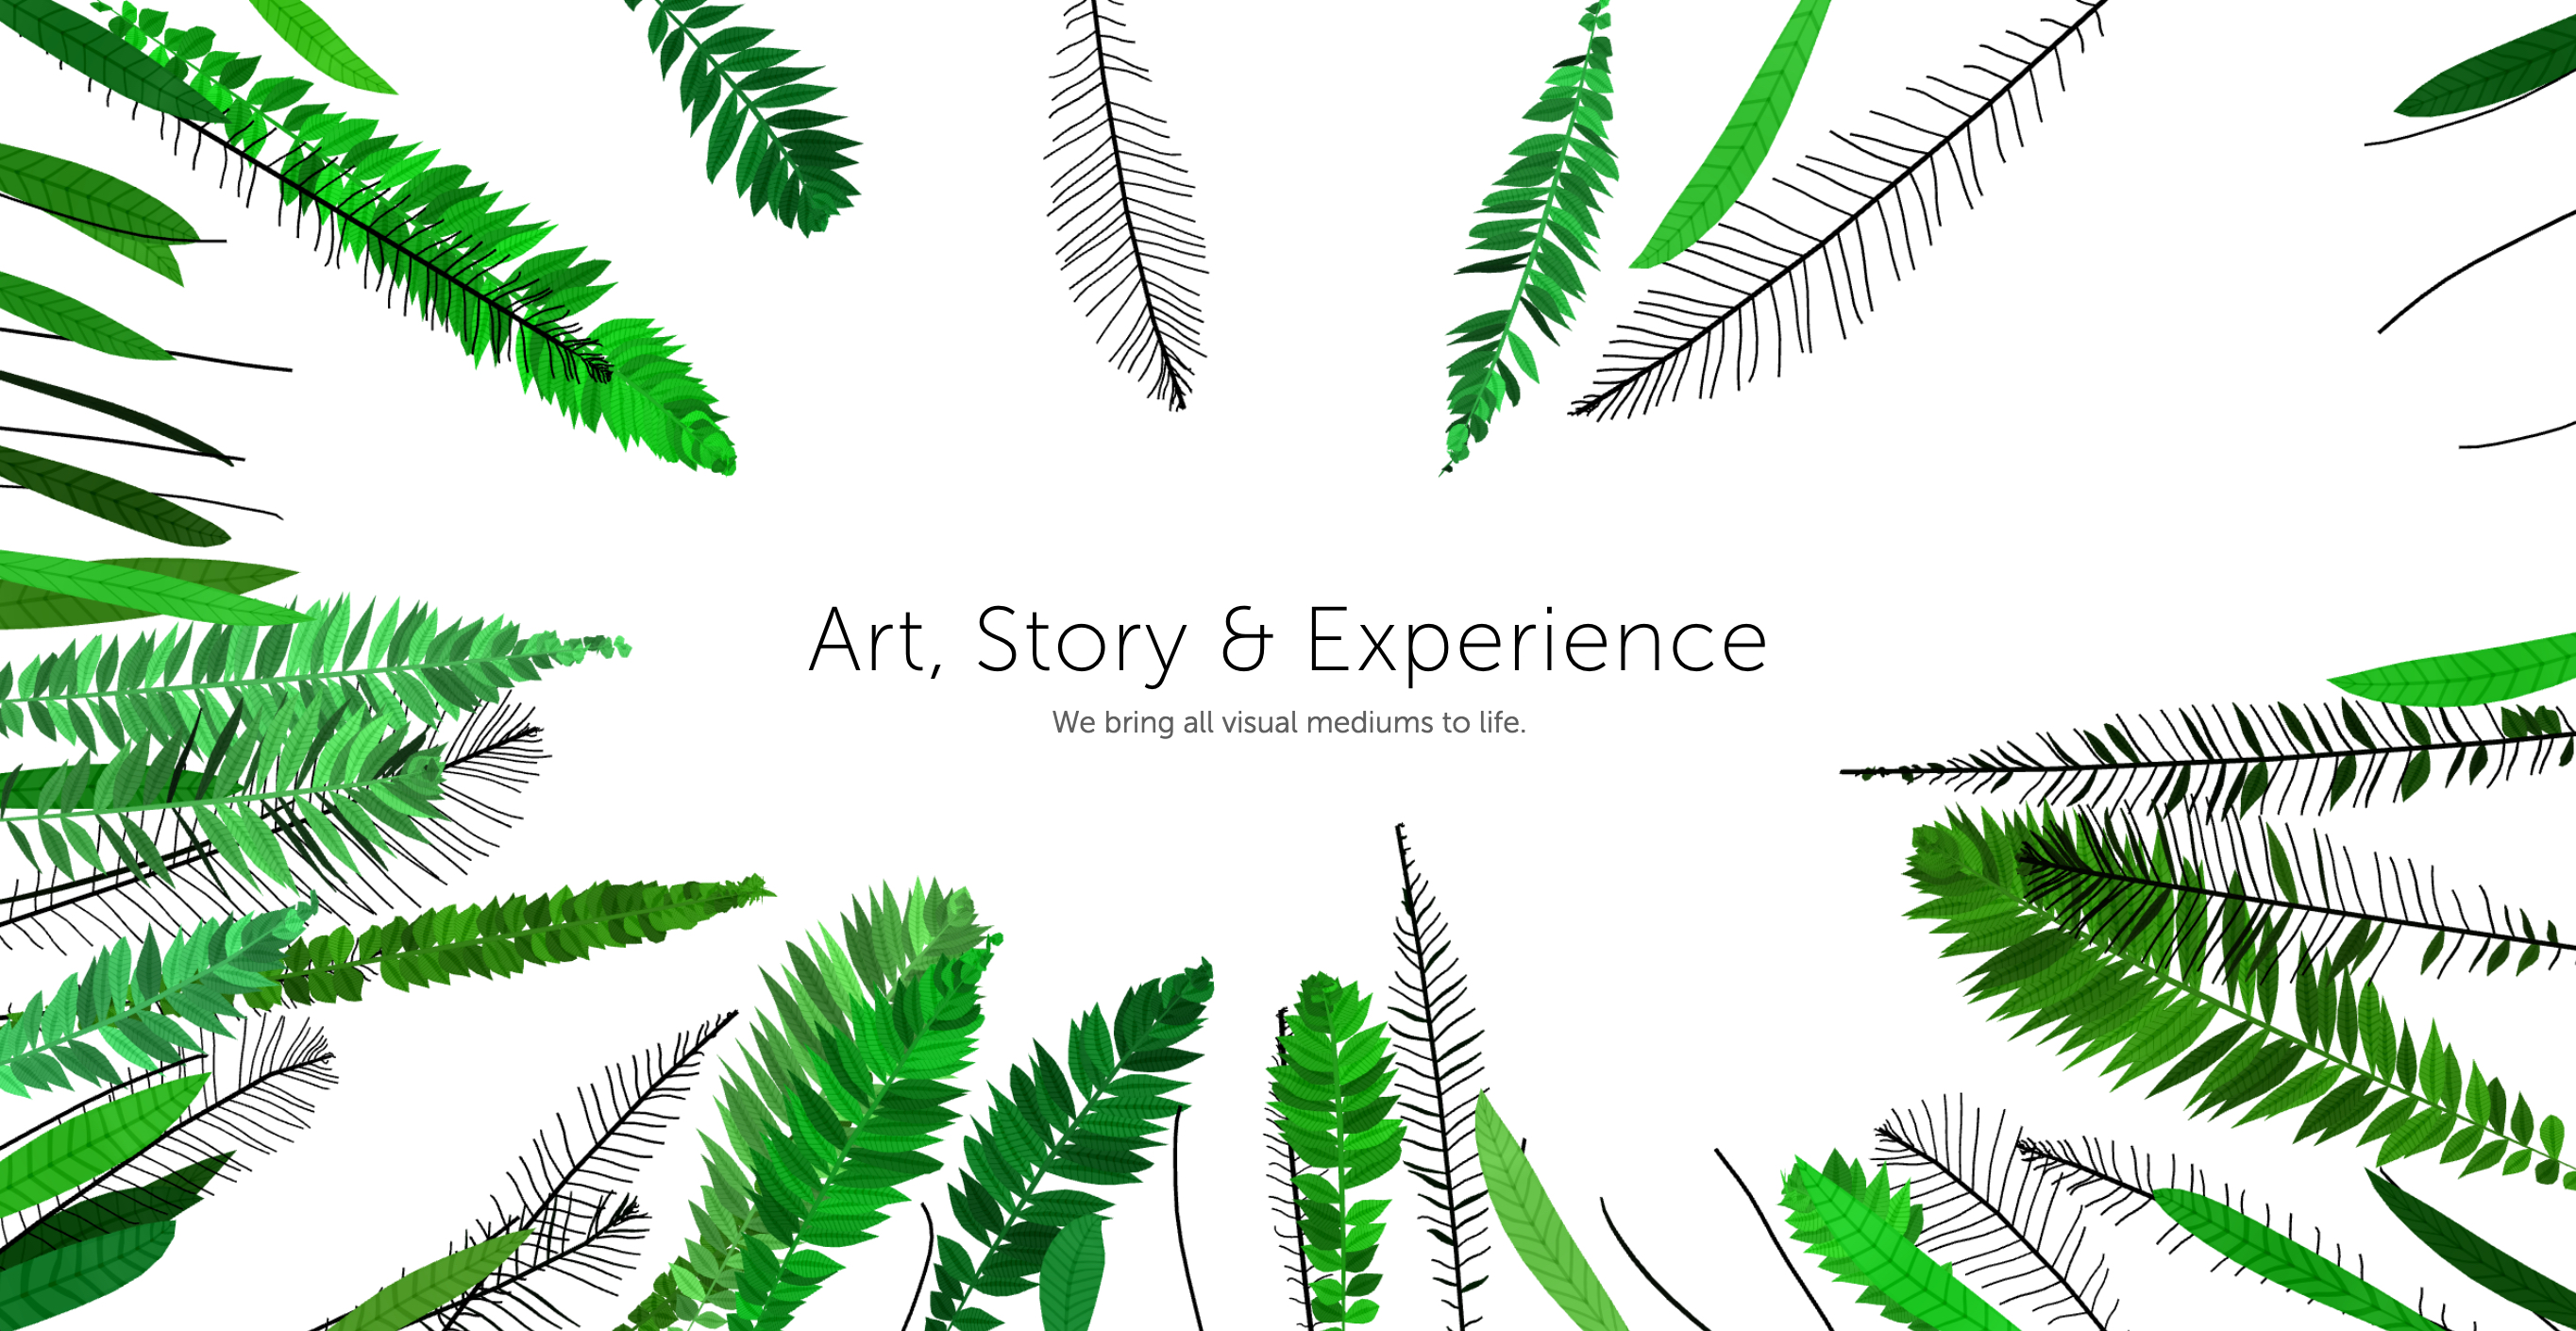
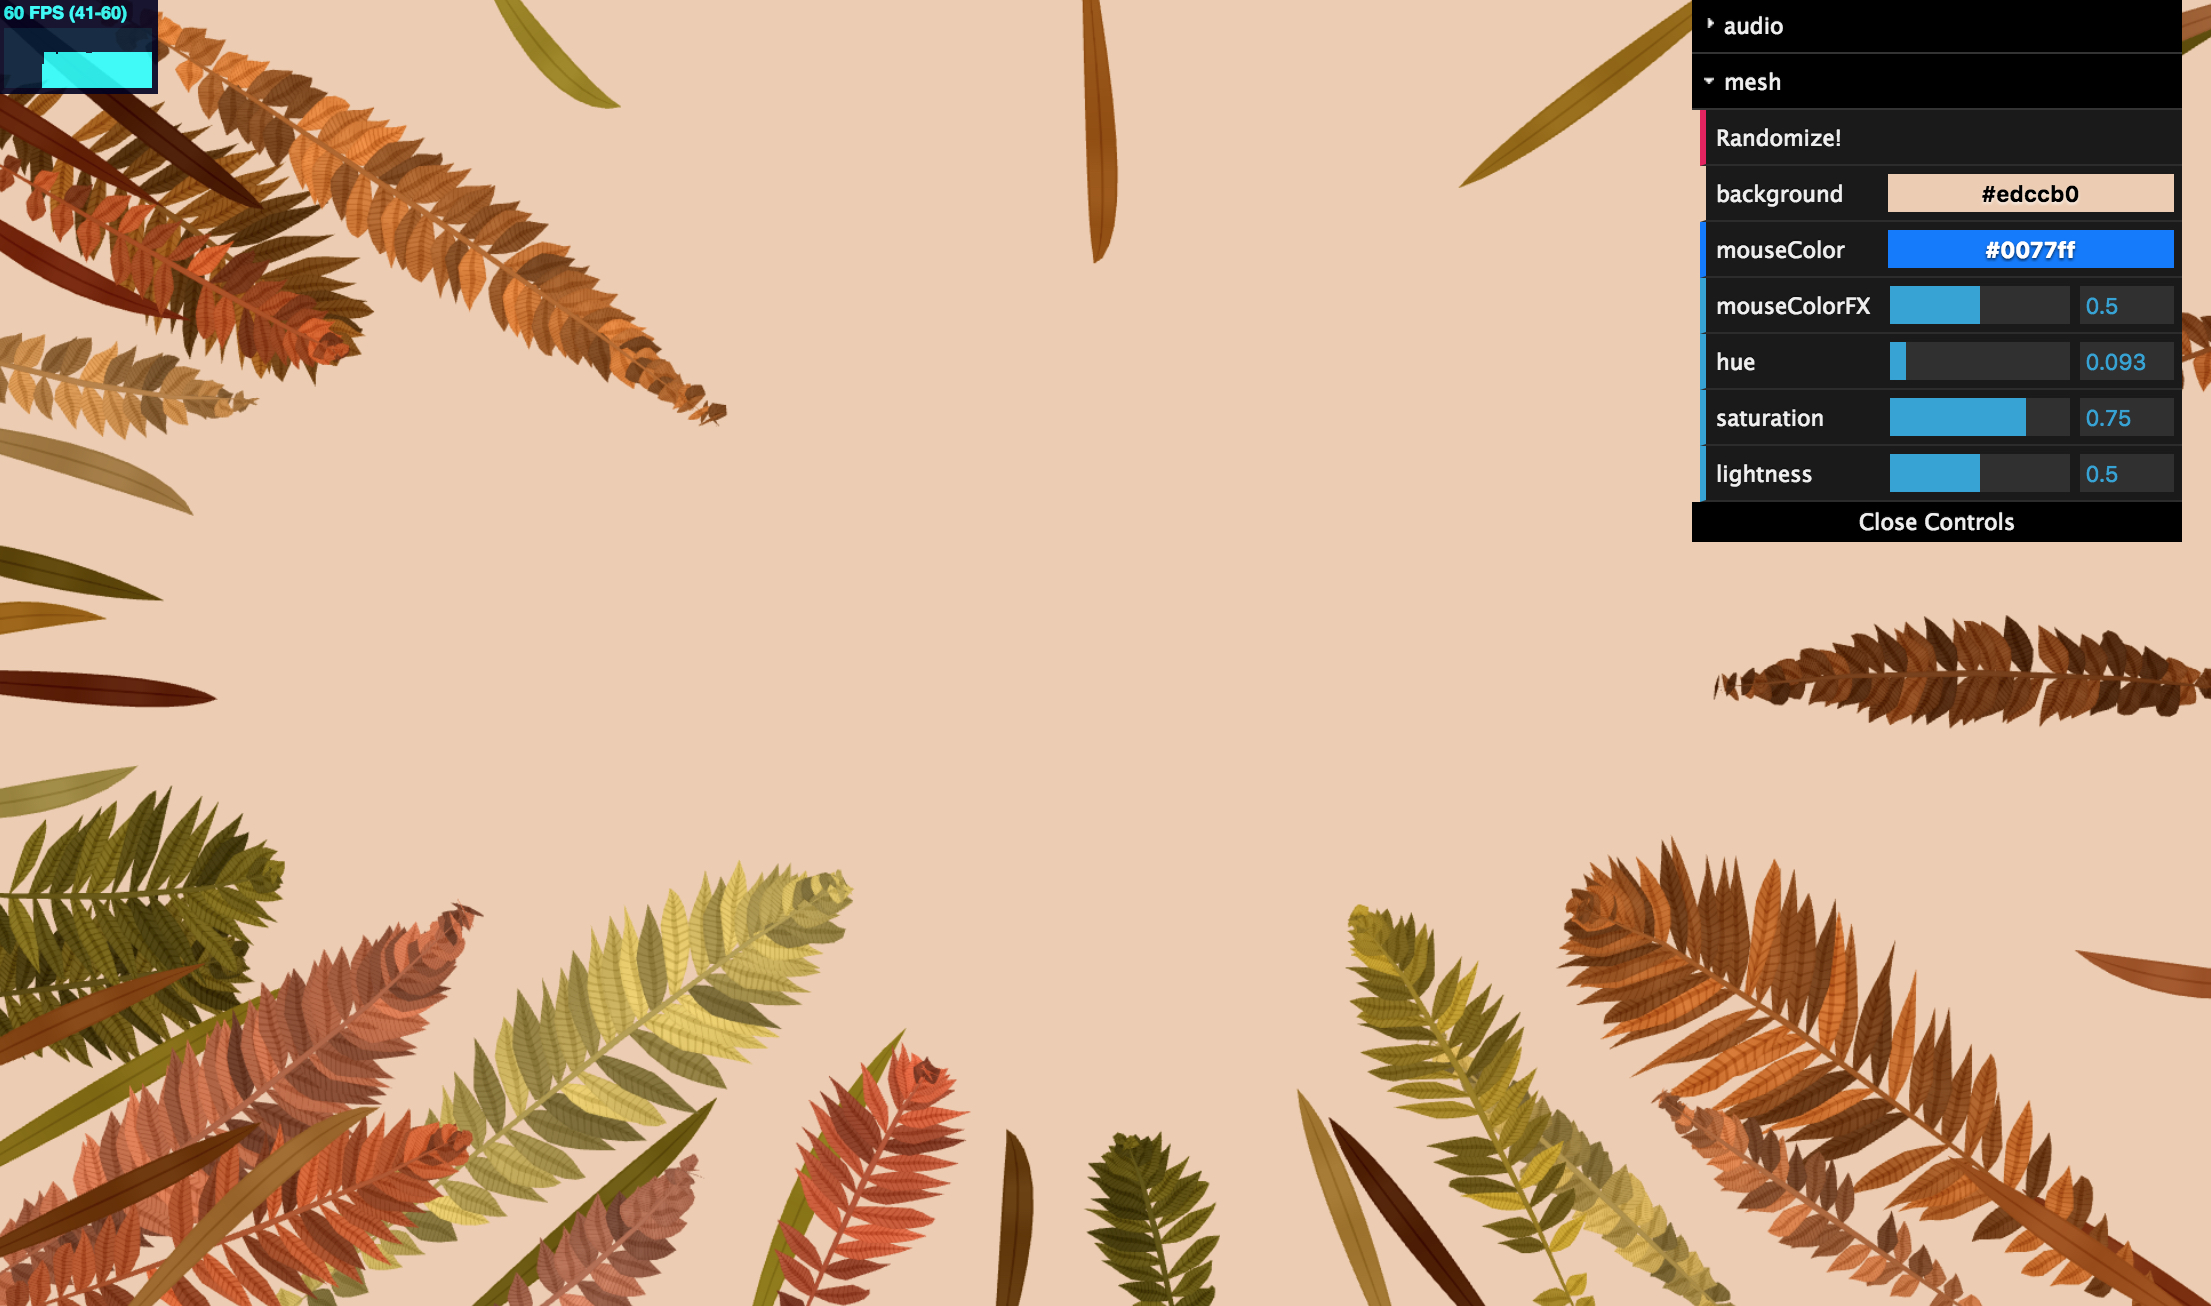
I recently launched a small and interactive web toy for the Toronto-based Design + Animation Studio, Tendril. You can try it out on their home page. Their site rotates through different web toys, so you may need to reload once or twice to see it.
The experience is simple: brush your mouse across the generative plants to see them blossom and emit musical tones.
This was a really fun project to work on, and I’m very pleased with the outcome. It’s great to watch the reactions on Twitter and Instagram, including the heartwarming reaction by a four-year old using the experience on a tablet.
In this post, I’ll explore how I created the web toy alongside the amazing team at Tendril, and discuss some of the technical challenges faced along the way.
Concept #
For a while now, Tendril has been showcasing different interactive animations on their home page (examples: 1, 2). They approached me with the idea of developing a new experience that introduces some aspects of generative growth and procedural geometry.

— One of Tendril’s previous web toys
The brief was very open: develop an interactive and playful toy for Tendril’s home page. It should co-exist alongside their other web toys, be modestly designed and simple to use, and load fairly quickly. The interactions should be easy to pick up and the overall experience should align with Tendril and their website.
An open brief with full creative freedom was a welcome challenge for me. In the last couple months, I’ve been trying to push myself to do more research, brainstorming, art direction, design thinking, and ideation before stepping head-first into development. I’ve found a pencil and notebook really is the best tool for this, although platforms like Pinterest and Behance can help organize references and find sources of inspiration.
After chatting over a few different ideas, we settled on the broad concept of “interacting with tropical plants”.
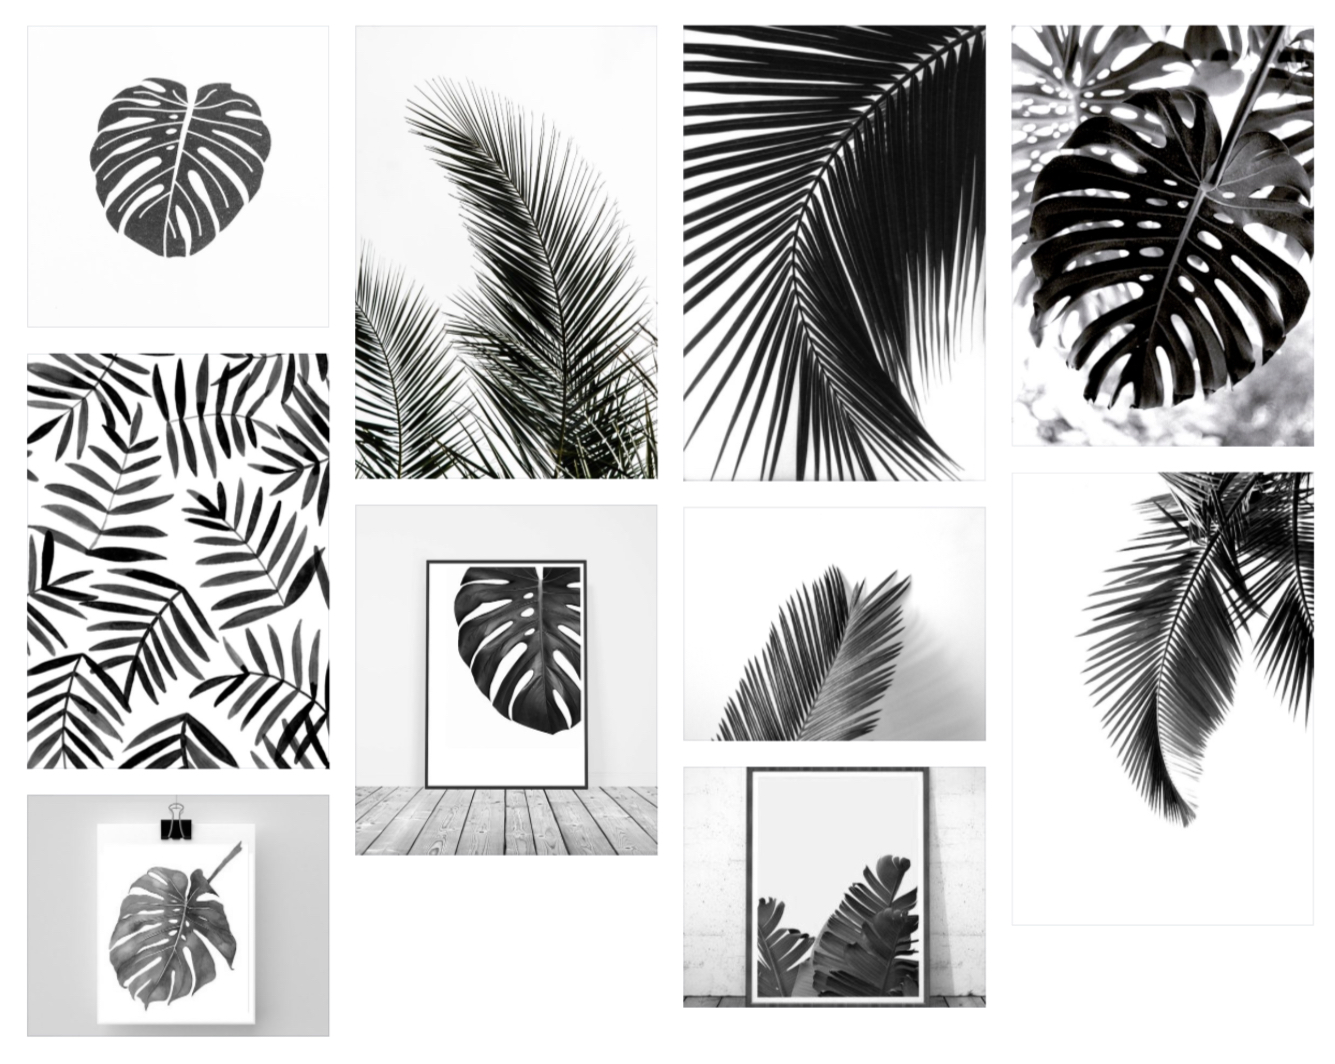
— Early mood board
My early mood boards leaned toward a monochromatic and stark visual direction. It’s great to reflect back on these, as it shows how much a project will change as it interates in development.
💡 On a related note — I wish there was an open source tool for generating flexible masonry-style mood boards from a set of pictures. The UX of InVision Boards is great, but unfortunately it’s a pay-to-use service.
Generative Plants #
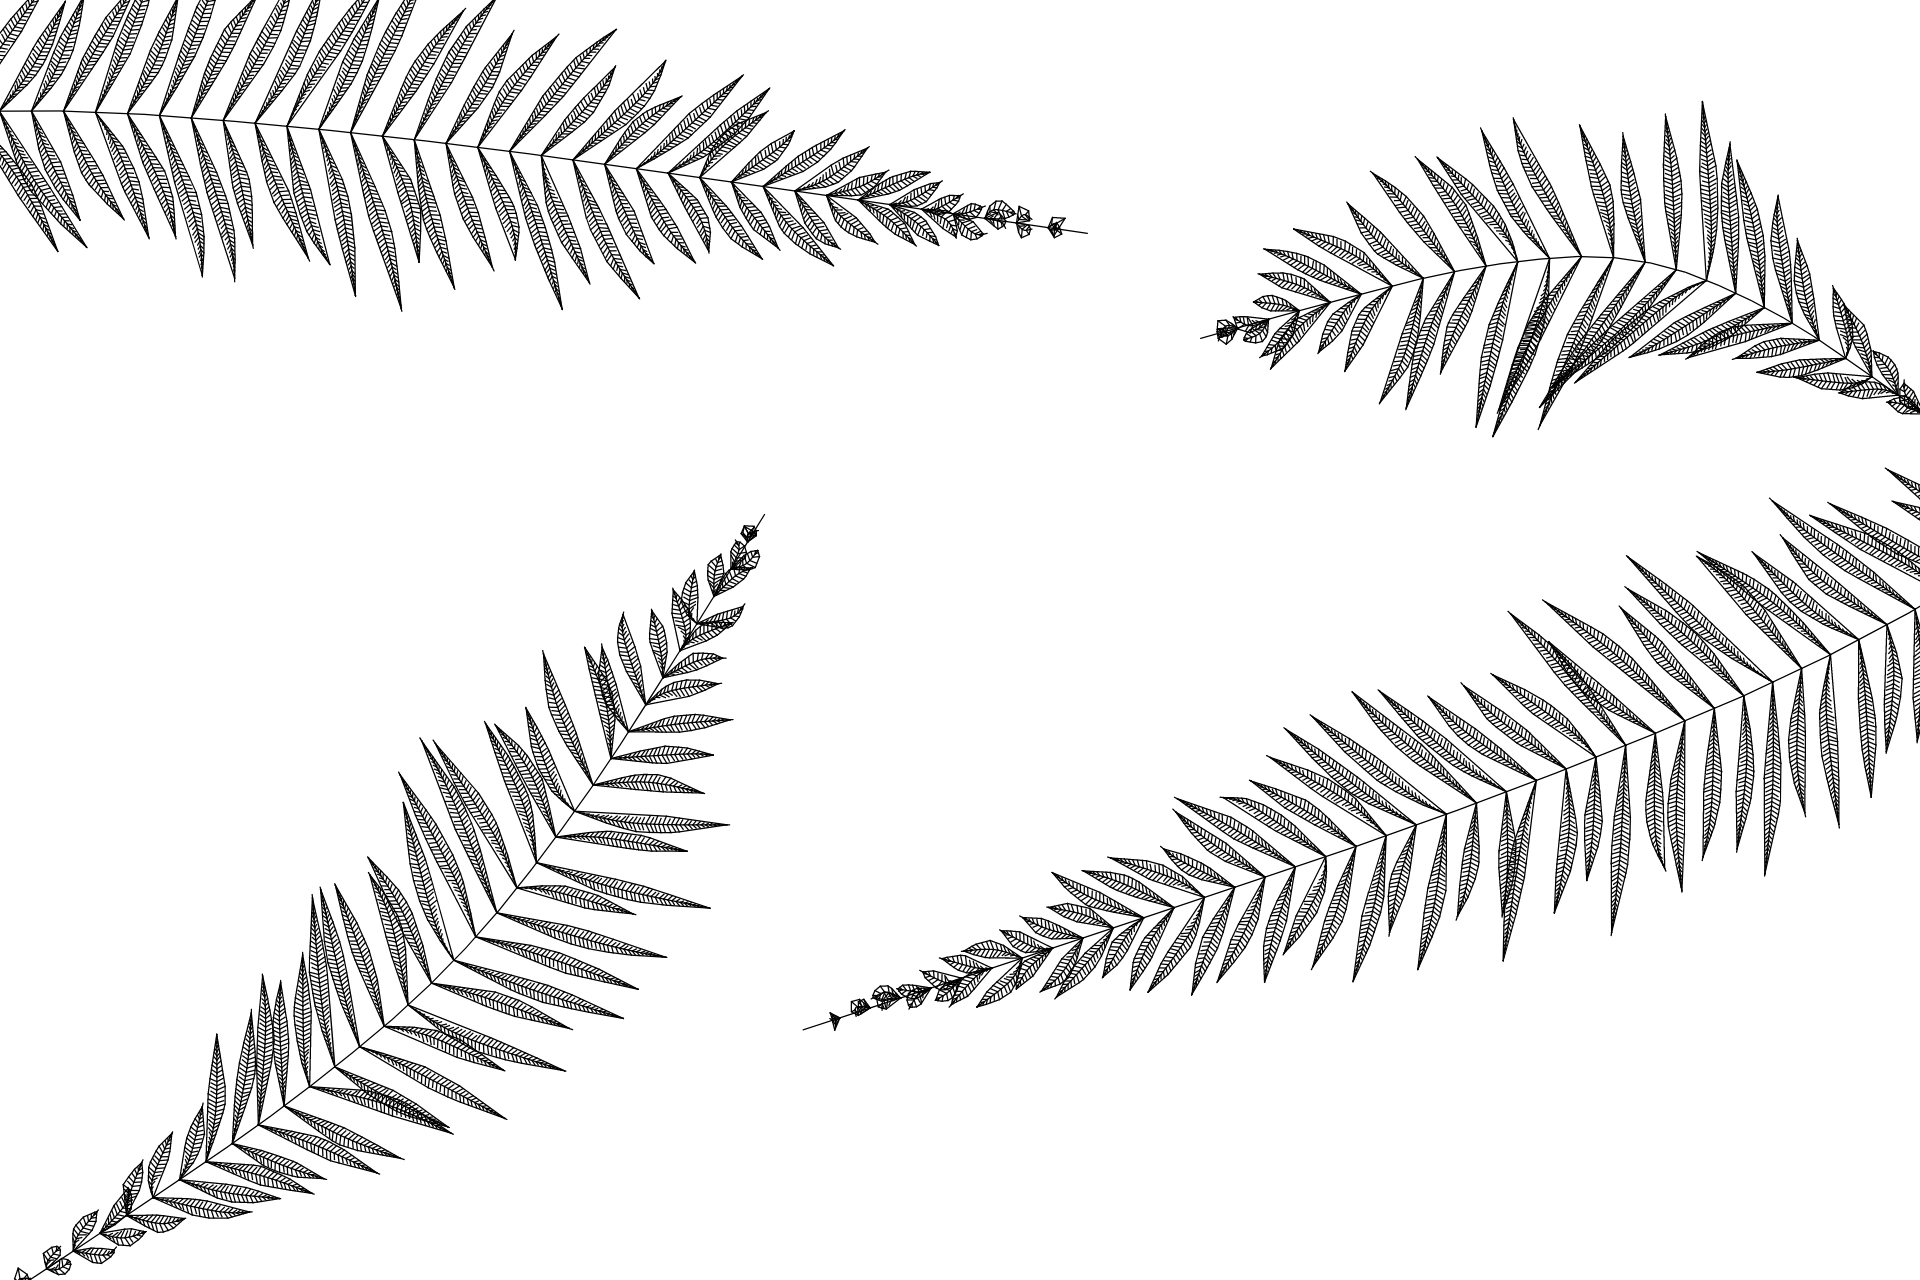
— Early Canvas2D prototype of the procedural plant geometry
Initially, I began prototyping plant structures with Canvas2D and lines. This proved to be a great way to quickly iterate on ideas and geometry, without worrying about complexities added by WebGL and the GPU.
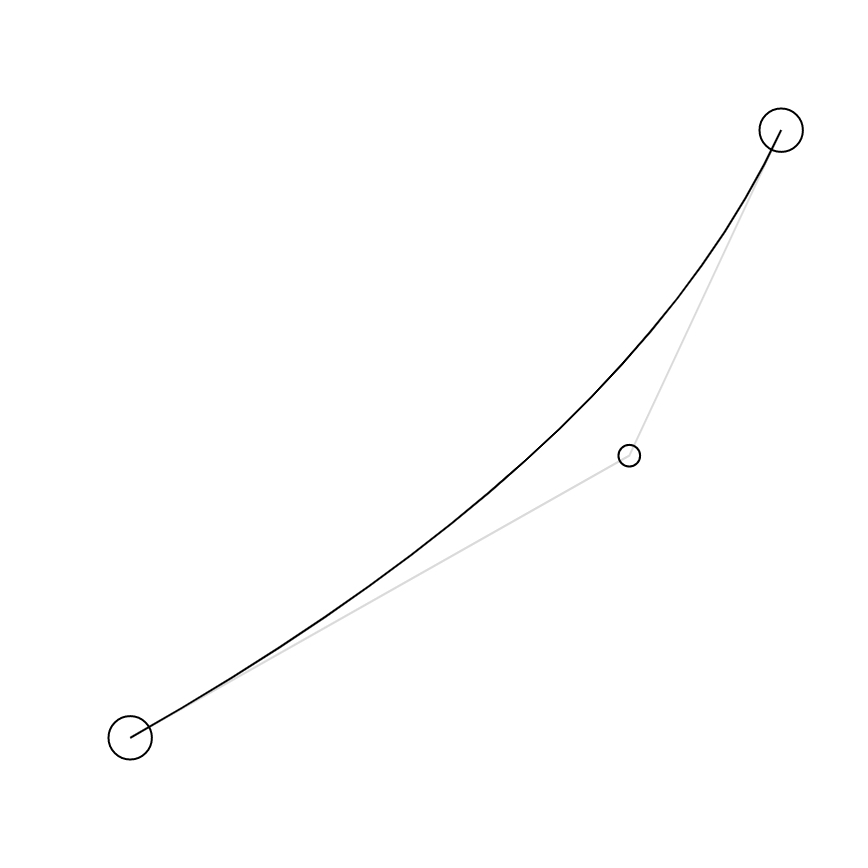
To build the procedural structure of the plants, I decided to use simple line segments and quadratic Bézier curves. A quadratic curve, as pictured below, is made up of a start point, control point, and end point.
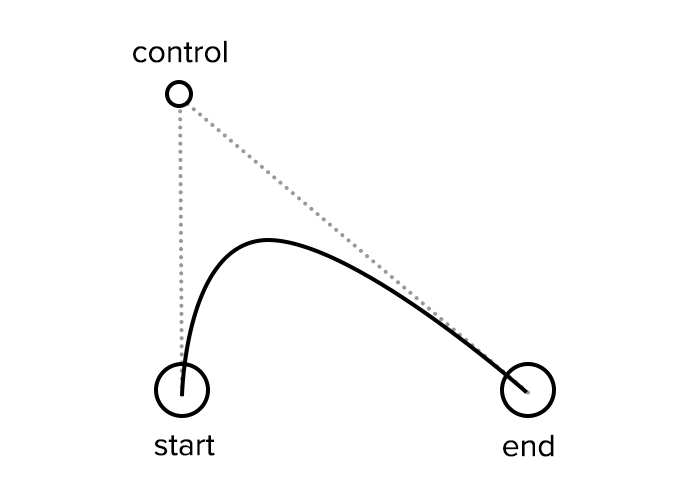
Using simple primitives and parametric functions (like lines and curves) made it much easier to manage things like animations, fast GPU rendering, mouse collisions, and even sound design. For example: you can define t, a number between 0 and 1, and use a parametric function to efficiently compute the 2D point at that value.
Structure #
I define each plant with a “start” point (e.g. at the edge of the screen) and “end” point (e.g. somewhere closer to the center of the screen). Then, a control point is placed somewhere slightly off the center line between the two points, giving the impression of a bending plant stem.
To extrude each leaf, you walk along the curve at regular intervals, determine the perpendicular normal of the curve at that position, and then scale & rotate the normal by some function so that it “feathers” outward like a leaf might. In my final experience, I used a mitered normal where segments join, rather than just a perpendicular normal for each segment.
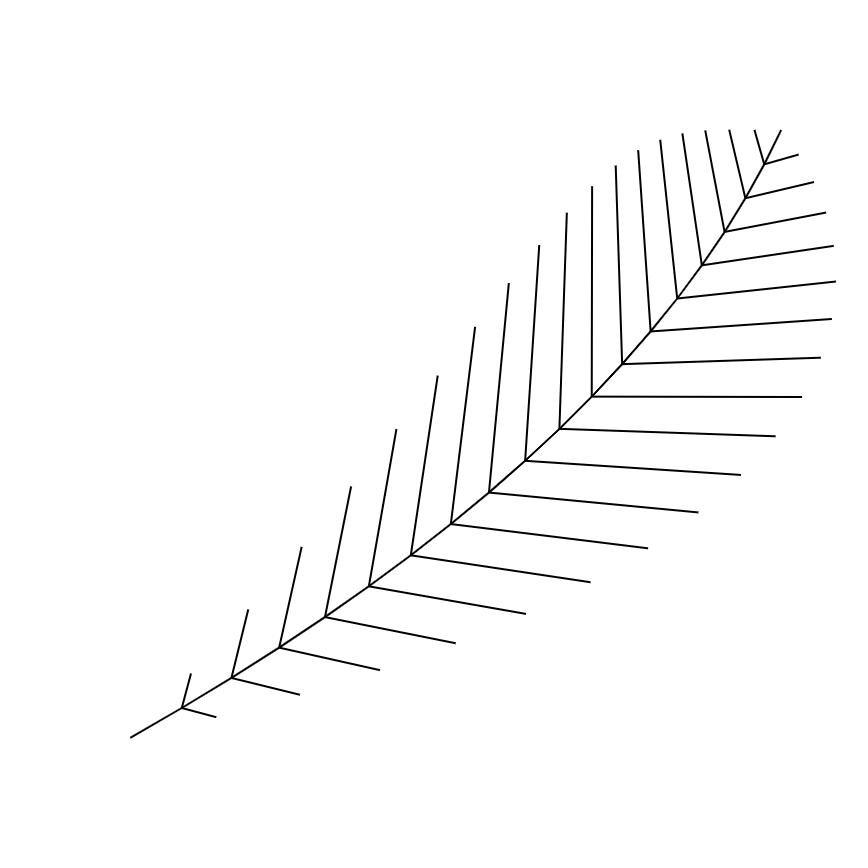
I’ve stripped my code down to a small Canvas2D demo below, and you can view/edit the code here. Click the below demo to modify the curve structure.
Mistakes & Lessons Learned #
During this 2D prototyping phase, I made two mistakes that I will now be mindful of next time I prototype:
- Dimensionality: It would have been great to translate this experience into three dimensions, allowing for more depth and a greater sense of motion. Most of these algorithms can be translated into 3D, but too much of my code and architecture made assumptions about only two dimensions.
- Units: When I initially protoytped in 2D, I used pixels for scaling and placement. This proved challenging when adapting the experience for other resolutions. It would have been better to use relative coordinates throughout the generative code, such as (0, 0) for top left and (1, 1) for bottom right of the screen — like I did in the above CodeSandbox demos.
Animations & Interactions #
Instead of using a complex and potentially CPU-intensive physics system, I decided to use simple springs on the vertices of the plant geometry. This makes them feel a bit more like Jell-O, but produces a fun and playful interaction.
For each vertex in the plant stem and its leaves, I assign a target (i.e. the point it should spring toward), position (i.e. the current computed point), and velocity (the speed and direction of movement). The pseudo-code of our basic physics system might look like this:
// 1. Add a mouse force to velocity
if (mouse is close enough to vertex) {
  velocity += mouseVelocity * mouseStrength;
}

// 2. Spring toward target
const delta = target - position;
velocity += delta * spring;

// Dampen with constant "air friction"
velocity *= friction;

// Integrate the new vertex position
position += velocity;
I’ve included an interactive demo of this vertex springing, which shows how the quadratic curve can bounce and bend in response to mouse movements. Try the demo below, or browse the full code here.
For collisions, I’m using a point within radius test to determine mouse collisions. This is fast to compute, but not perfect: there are some “dead spots” on the leaf that will not trigger interactions. To produce more accurate sound effects when brushing the leaves, I used a point to line segment distance test on the smaller leaves. In retrospect, using the latter test for mouse collisions would have produced better interactions, but the difference is hard to spot with a large mouse radius and all the plants in the final experience.
Rendering #
Although Canvas2D was great during the prototyping stage, it isn’t powerful enough to achieve things like per-pixel shading effects.
Thanks to ThreeJS and its OrthographicCamera, it wasn’t too difficult to port all of the canvas code into WebGL. To render the plants, each stem is made of a single (re-used) PlaneGeometry and a custom vertex shader. The vertex shader positions the plane segments to fit along the curve (or line) defined by the stem or smaller leaf.
You can read more about this technique in a past Observable notebook I wrote, “2D Quadratic Curves on the GPU”. Using this approach for the curves and line segments in each plant, you end up with a scene like this:
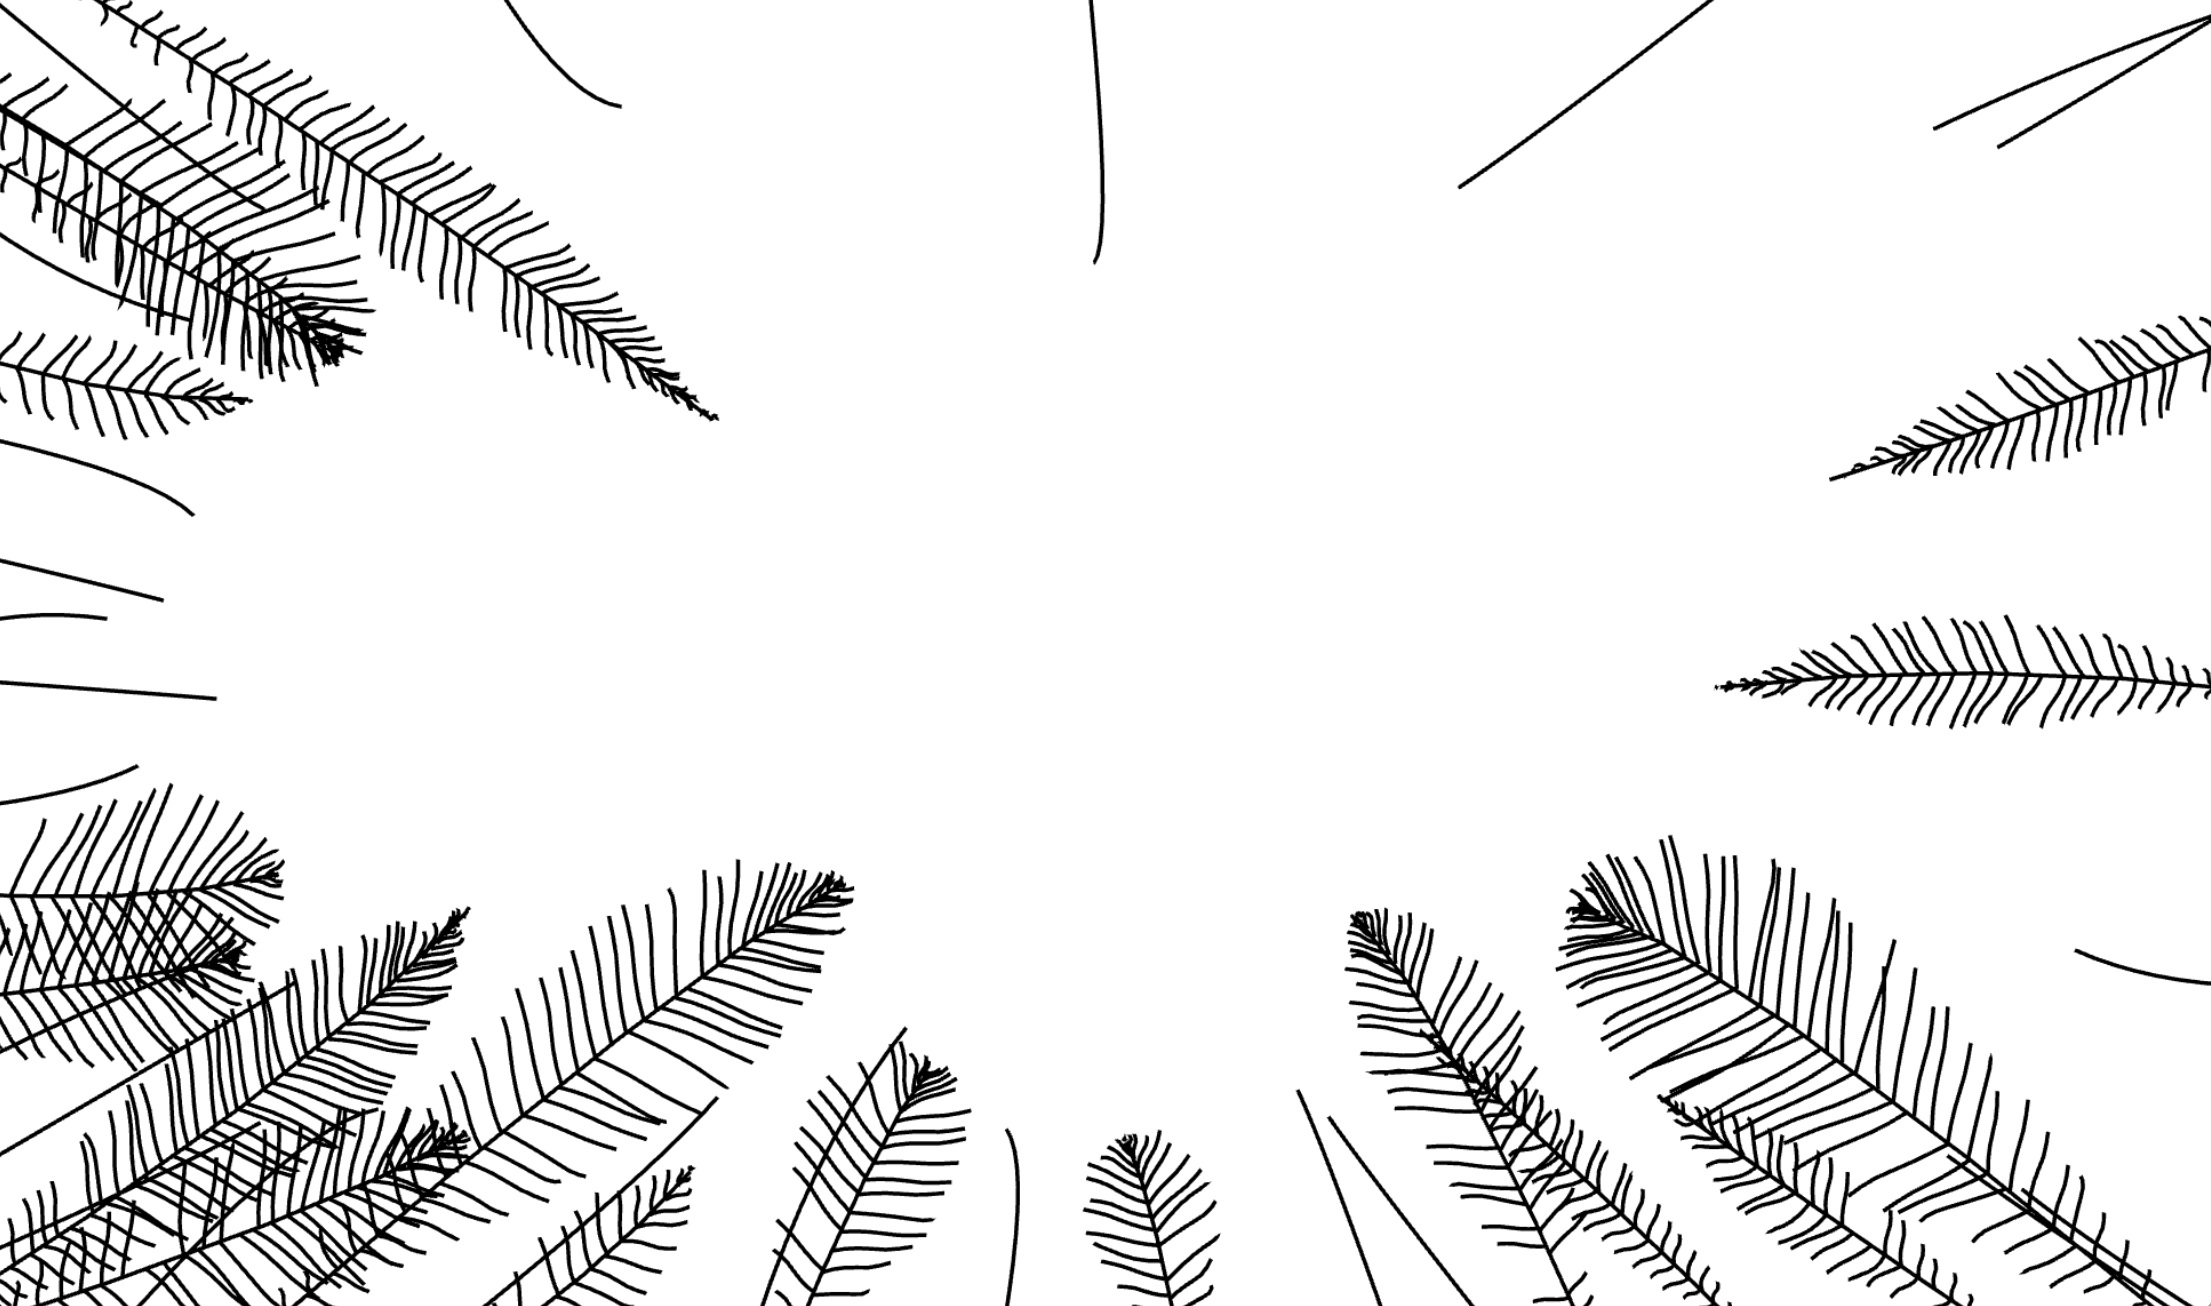
In my vertex shader, I also added parametric functions to sample a varying line thickness along the t arc length. For example: thickness = sin(t * PI) will pinch the start and end of the curve. With these functions and a wider line thickness, the silhouette of the plane geometries begins to look more like tapered leaves.
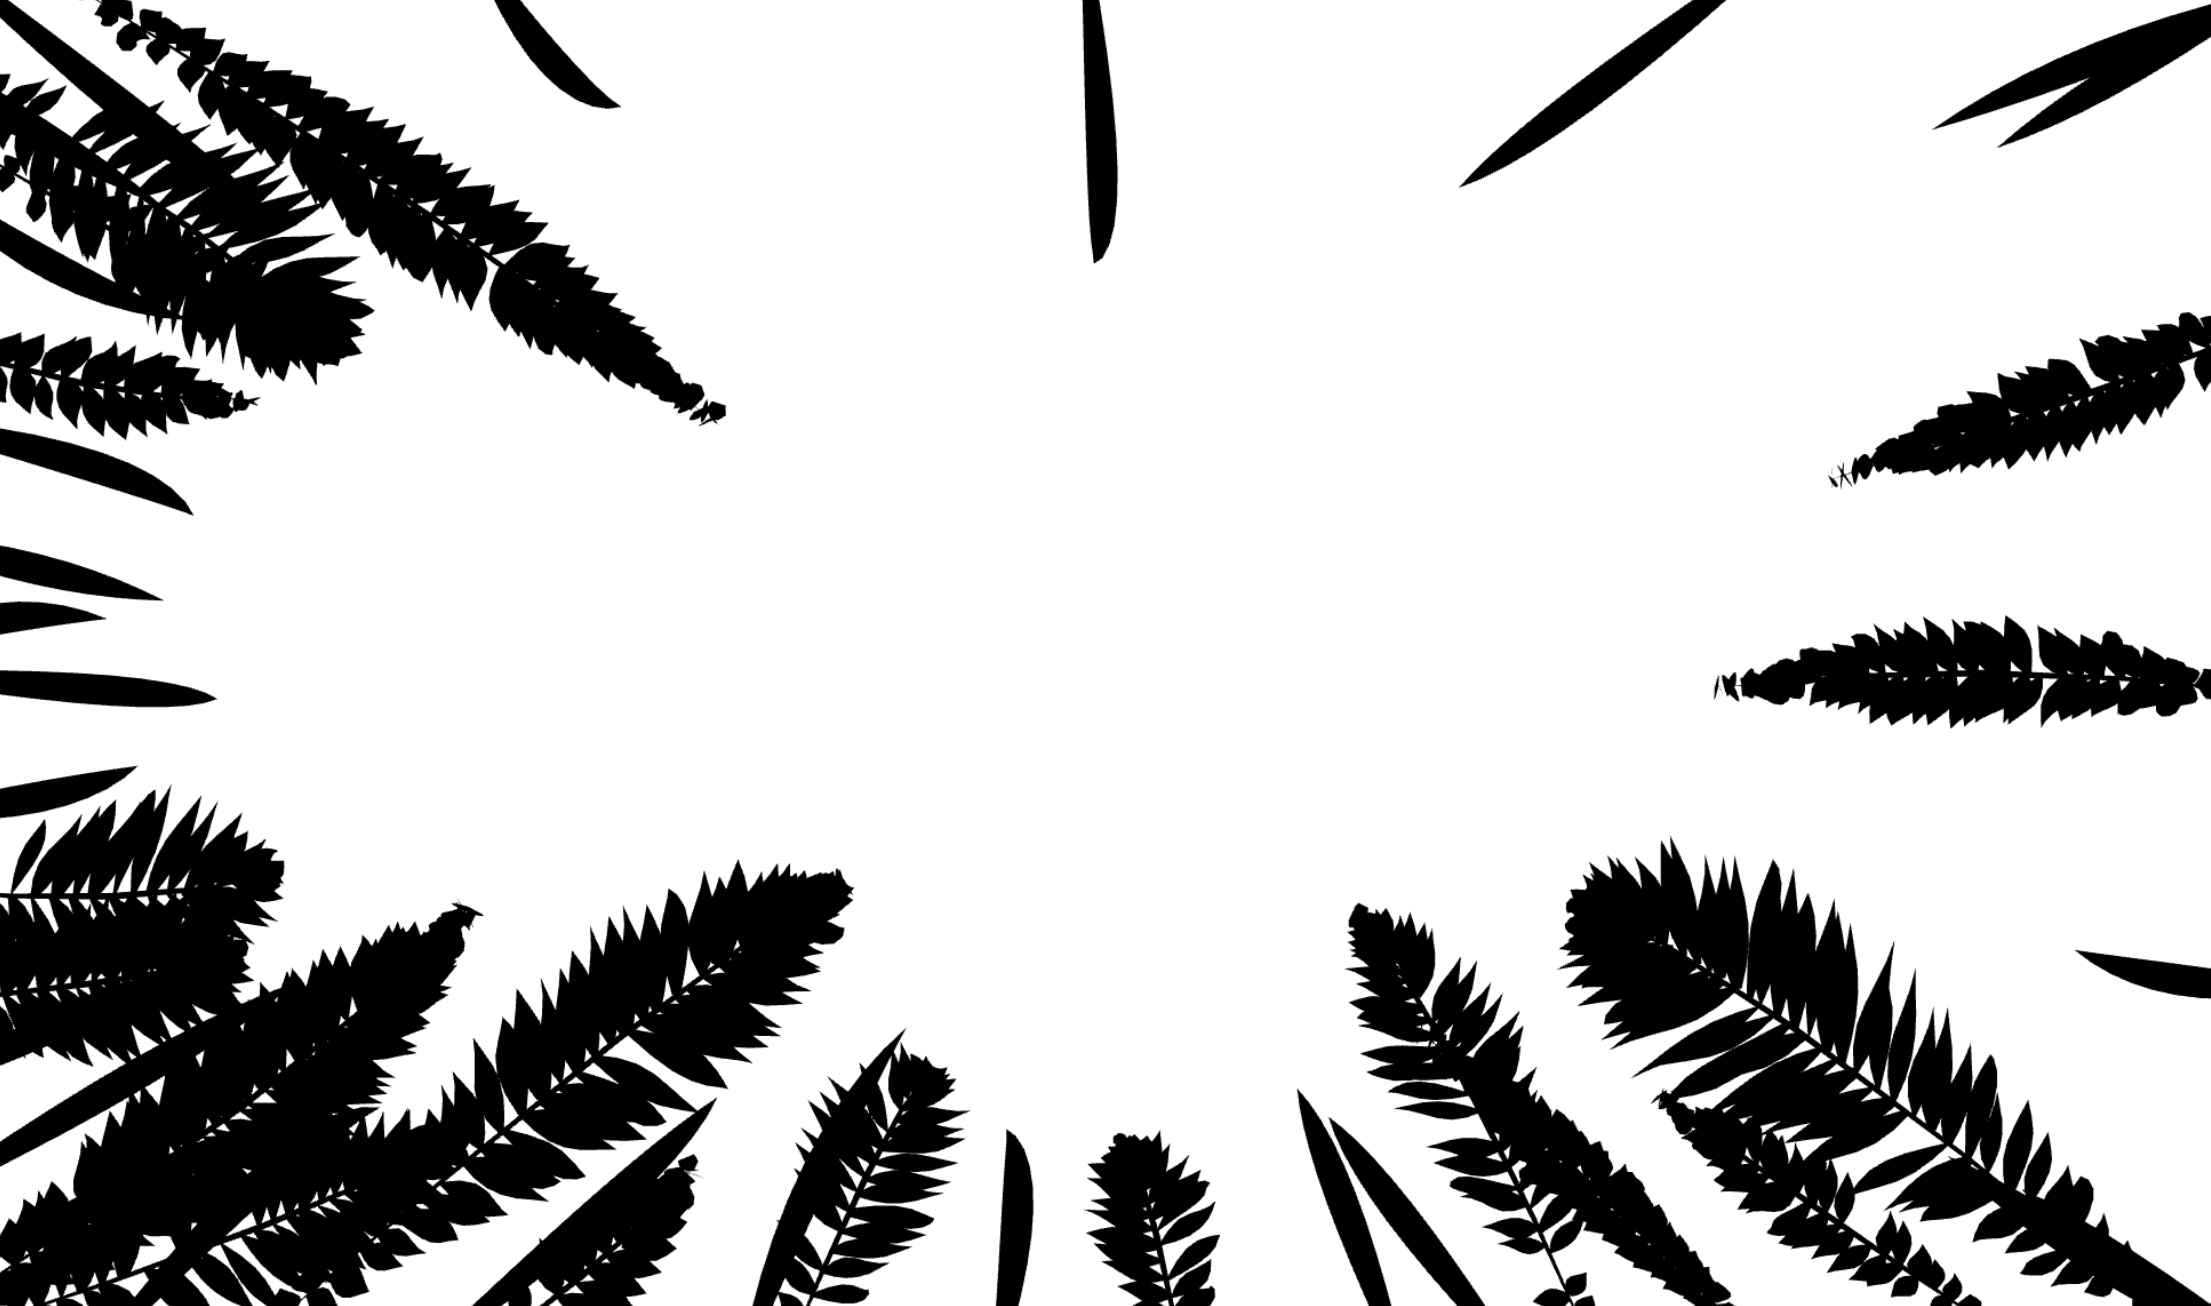
Lastly, colour and surface detail is added — each leaf has slight variation in brightness, hue, saturation, vein density and angle, and so forth. All of this is computed in the fragment shader – for example, the small veins and center line on each leaf is based on the texture coordinates, using fwidth() to compute a smooth anti-aliased 2-3 pixel line.

I used dat.gui for visual sliders during development, and shared iterations with the rest of the team using surge.sh. This allowed us to experiment with lots of different ideas and directions. This iterative style of development allowed us to come up with some interesting features: it wasn’t until later in the project that we introduced the idea of animating plants in from a black “hand-drawn” state.
The Little Details #
To bring more life to the project, I spent a lot of time on the little details. In fact, the core leaf structure and spring interactions proved to be the easy part; most of my development was spent in polishing the visuals, crafting the motion graphics, and fixing various issues across different browsers.
Here’s a few examples:
- Randomness is used in almost all aspects of the experience, producing slight variations in the visuals, motion and sound. For example, randomizing length, curvature, density, timing, wind speeds, hue, thickness, brightness, volume, etc. In the end, I used a fixed random seed to produce a consistent look and feel for all users.
- Sounds are throttled (by time and max simultaneous voices) to avoid popping and too much aural clutter.
- The volume of a sound effect is modified based on your mouse velocity. Faster mouse movements produce slightly more dramatic sound effects.
- Depending on the position of mouse interactions, the sound is panned left or right, giving a sense of spatialization.
- Lots of performance optimizations: the entire scene is just one shader and 3 different geometries (of varying subdivisions). Tons of time spent looking through profilers and optimizing functions until it rendered smoothly across all browsers and devices. Screen pixel density, leaf density, plant organization, and other variables are changed depending on your browser and resolution.
Final Hurdles #
As usual with interactive web projects, the final stages of a project generally involve small tweaks to get things working smoothly across different browsers and devices.
I used several of my past modules to handle general cross-platform issues, such as touches for unified mouse and touch handling and web-audio-player for iOS compatible WebAudio.
There’s a couple other browser issues that held me up — here’s how I managed them:
- In FireFox and MS Edge, sometimes
setTimeoutwould not be fired in a timely manner if there is a lot of CPU activity going on in JavaScript. I didn’t assume it would be accurate, but I wasn’t prepared for it to fire 2-3 seconds late. Switching to timeout-raf fixed this issue. - You need to polyfill WebAudio stereo panner node for unsupported browsers (i.e. Safari), and even so, some browsers (like mobile iOS Safari) do not do well with panning. For this reason, the effect is disabled in mobile.
- Safari also had a few other issues: I had to throttle max simultaneous sounds to avoid pops/clicks, and before playback call
audioContext.resume()as the browser was occasionally suspending the audio context. - The JIT/JavaScript engine in MS Edge is really slow compared to other browsers; I couldn’t do much to fix it except lower the plant detail.
- Inside an iFrame in iOS Safari, sometimes you will get an incorrect
window.innerWidth. To fix, I ended up having to useposition: fixedwith 100% width and height on thecanvasstyle.
Credits #
Thanks to the team at Tendril, including:
- Matt Jakob (Creative Director)
- Niko Hook (Sound Design)
- Sarah Arruda (Executive Producer)
- Ahmed Wageh (Creative Developer)
- John Szebegyinszki (Producer)
Below you can find the source code for this blog post and its interactive demos:
https://github.com/mattdesl/tendril-webtoy-blog-post